192.168.0.1 is a common IP address specifically for router settings. Many hardware manufacturers use this IP address as their router’s default address, but users can use the control page to replace it with their liking, such as 192.168.1.1. Generally password to this address varies depending on the router manufacturer’s settings, but normally it is: username (case-sensitive): admin, password: admin. If you have changed the password, enter the password that you modified. If you didn’t change it and have forgotten the password, you can reset the router to obtain the default password.
Usually, router settings are marked on the back of the router, including the IP address, router’s default login username and password. On some of the labels, they also record the serial number of the router. If you can’t find them there, then take a look at the router manual.
Unable to login to 192.168.0.1 of your router?
We always encounter the problem that we can’t login to our router. There might be several reasons, your router admin address isn’t 192.168.0.1, etc. Let me show you some common solutions.
In such cases, the first step is to confirm whether the Internet is shared by a router. If yes, then you can try the address 192.168.0.1 and check whether it is pre-configured by your router. Normally, the details are written in the router’s manual. Also, if you don’t know the router’s username and password, you can also look into the manual or search for them with a search engine. They are normally ‘admin’, ‘guest’, or some kind of these. If the password is modified, then I suggest that you reset the router. There is a small hole beside the ports. Find it carefully and pick up a toothpick, then stick the toothpick into the hole for about 10 seconds. meantime, the router must be powered on, then the default password will be recovered.
The next step: ping 192.168.0.1. First, click the taskbar at the left corner of your desktop, then click ‘run…’, or just press ‘Win (lower left corner of the keyboard that has a Windows icon key) + R’. At the pop-up window, type ‘cmd’, then enter ‘ping 192.168.0.1’ in the window. Remember that there is a space between ping and 192.168.0.1. Then observe the results. If the window shows ‘request time out’, it means your computer doesn’t connect to your router successfully. If it shows ‘Reply from 192.168.0.1: bytes =32 …’, congratulations! The network runs smoothly.
What can I do if it shows ‘request time out’?
First, check whether the cable lines are connected correctly, then check whether the lines are correctly plugged into the right ports of your router. There is a port named ‘WAN’, it should be plugged with the internet cable that should be from your network provider. Next is to check whether your computer’s IP is configured properly: right click ‘My Network Places’, click ‘Properties’, right click ‘Local Area Connection’, click ‘Properties’, click ‘Internet Protocol(TCP/IP)’, click ‘Properties’, check whether your IP address is entered correctly or just leave it to ‘Obtain an IP address automatically’. If the steps are configured OK, then you can ping your router successfully too.
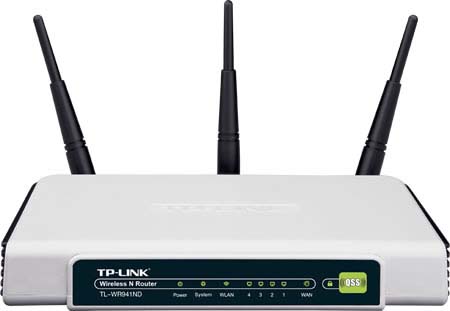
How to setup your wireless router?
First, open your browser and enter http://192.168.0.1. Please make sure it’s not www.192.168.0.1 or 192.168.o.1, then it will pop up a dialog box asking for a username and password, enter the default one, for example: ‘admin’. Then it will bring you the router setting panel, there’s always a setup wizard which will lead you to the step-by-step configuration, just follow it. While configuring the Internet option, choose PPPoE(DSL virtual dial-up), it will ask you for an account and password that you get from your network service provider. Fill in the forms, save the data, and then your network should work smoothly now. The final step is to set up a password for your WIFI, which will make sure your wireless router won’t be a public free WIFI provider.